
 Preview
Omni Bedford Springs Resort & Spa
Bedford, PA
For wedding vendors
From choosing a plan to going live, here is every screen you will see. You build your whole listing first and only pay when it is ready to submit.
1Step 1 of 10
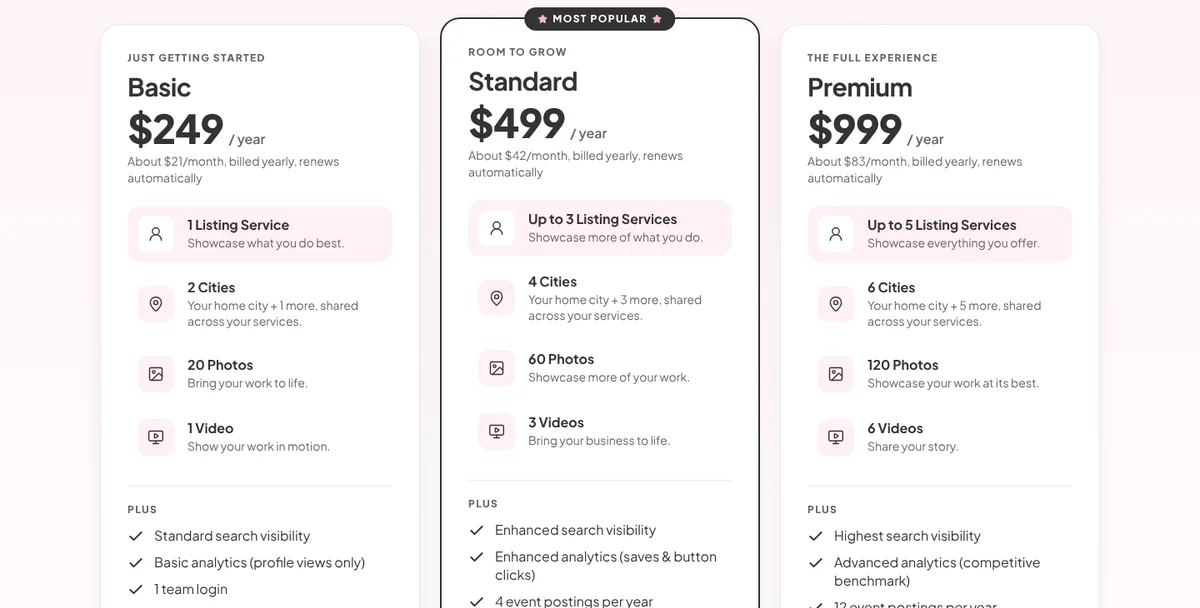
Click Get Listed anywhere on the site and pick Basic, Standard or Premium. Nothing is charged yet. Your choice comes with you, and you can change it at any point before you pay.
2Step 2 of 10
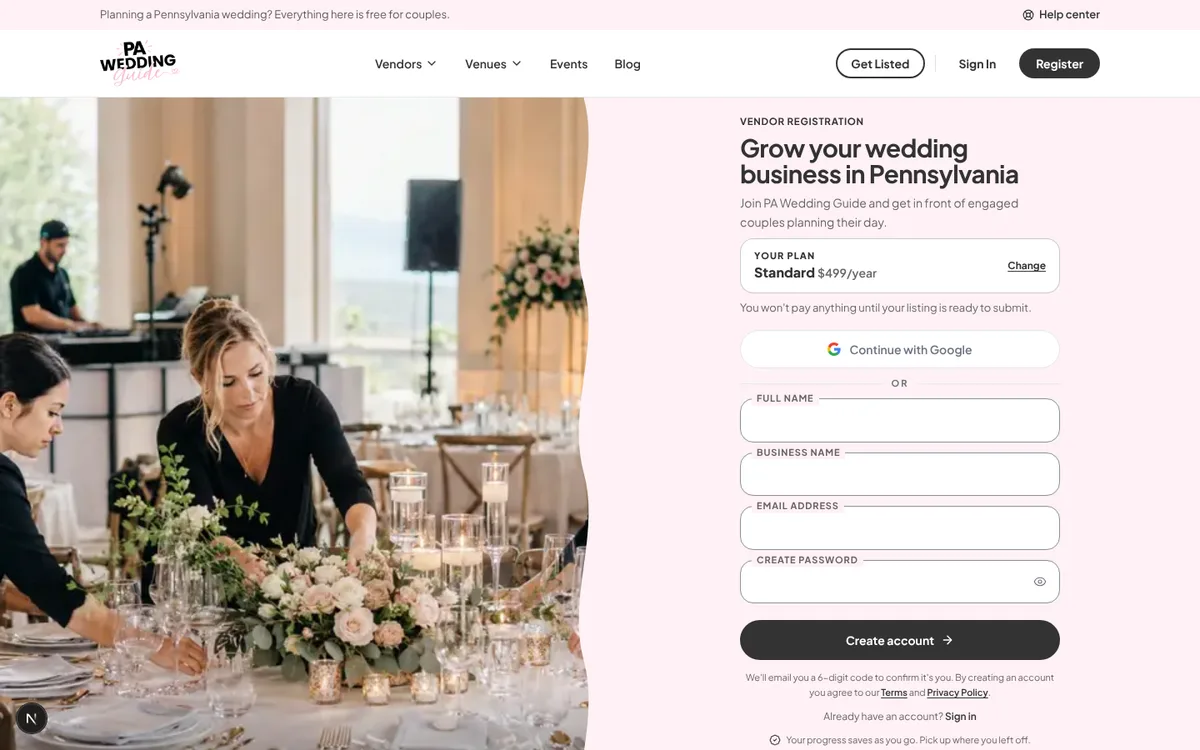
Add your name, your business name, your email and a password, or continue with Google. The plan you picked is shown at the top with a Change link. You won't pay anything until your listing is ready to submit.
3Step 3 of 10
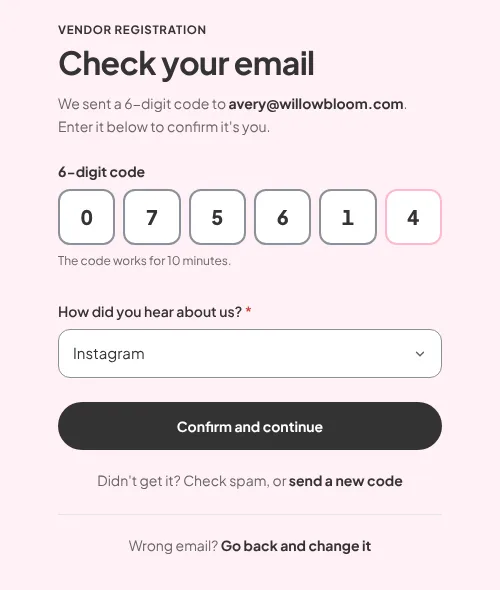
We email you a 6-digit code. Type it in, tell us how you heard about us, and you are in. If it does not arrive, check your spam folder or send a new code.
4Step 4 of 10
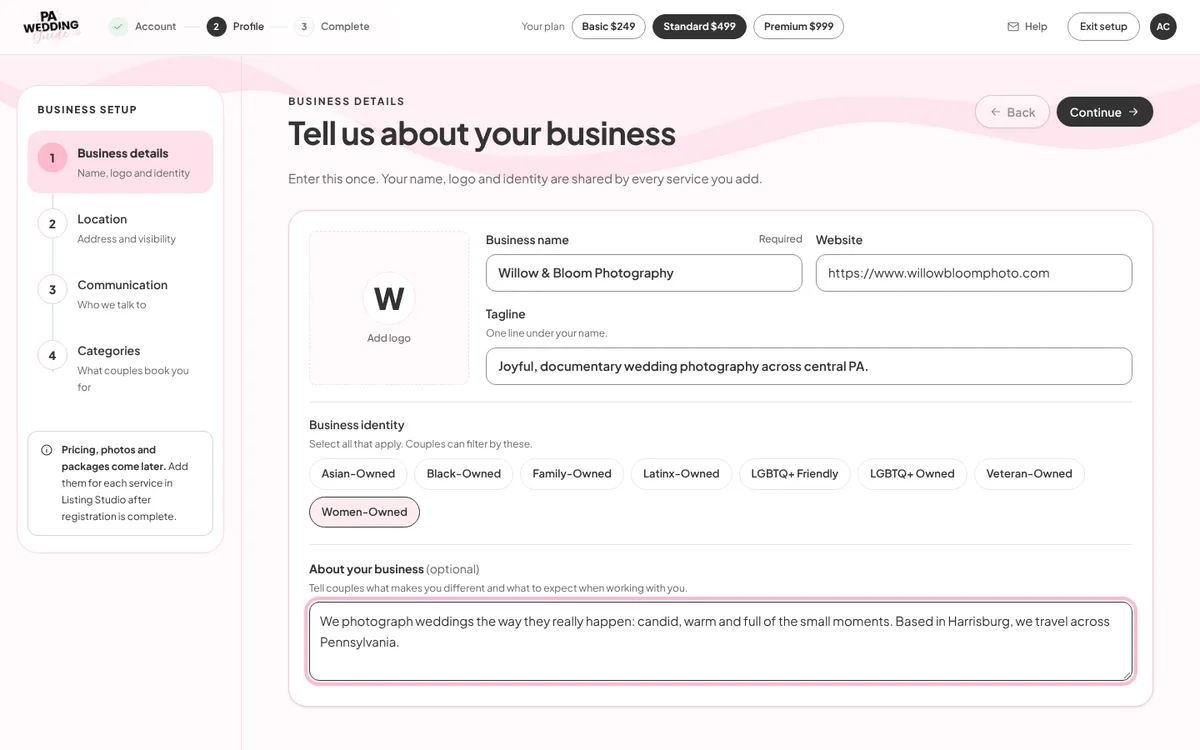
Your business name, logo, website and a one-line tagline, plus anything couples can filter by, like women-owned or family-owned, and a few lines about you. You enter this once, and every service you add shares it.
5Step 5 of 10
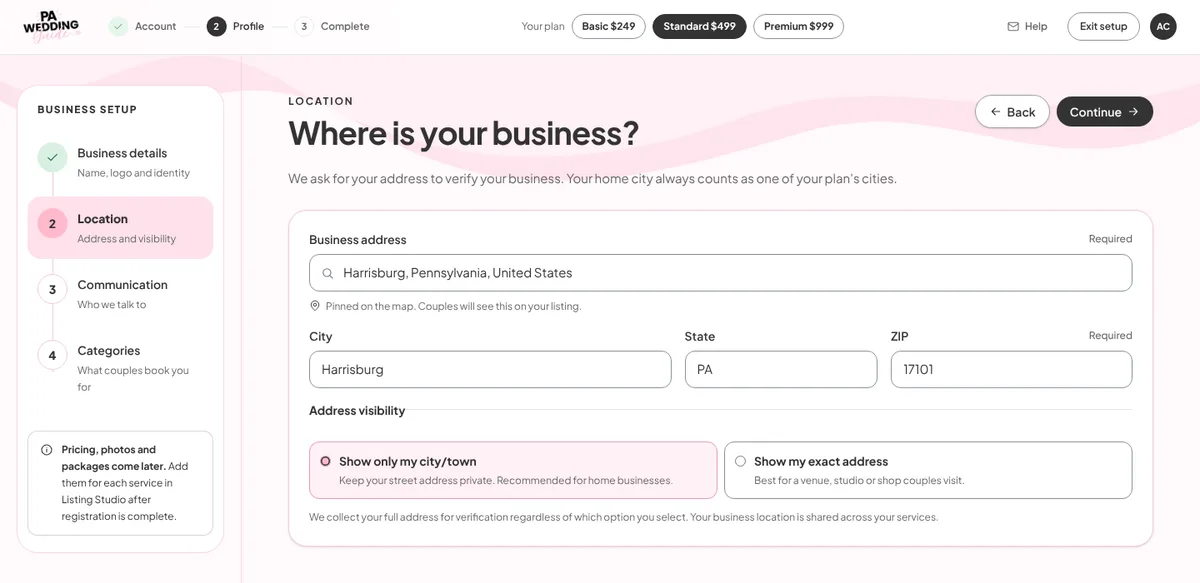
Search for your address and choose what couples see: only your city or town, or your exact address if couples visit you. Your home city always counts as one of your plan's cities.
6Step 6 of 10
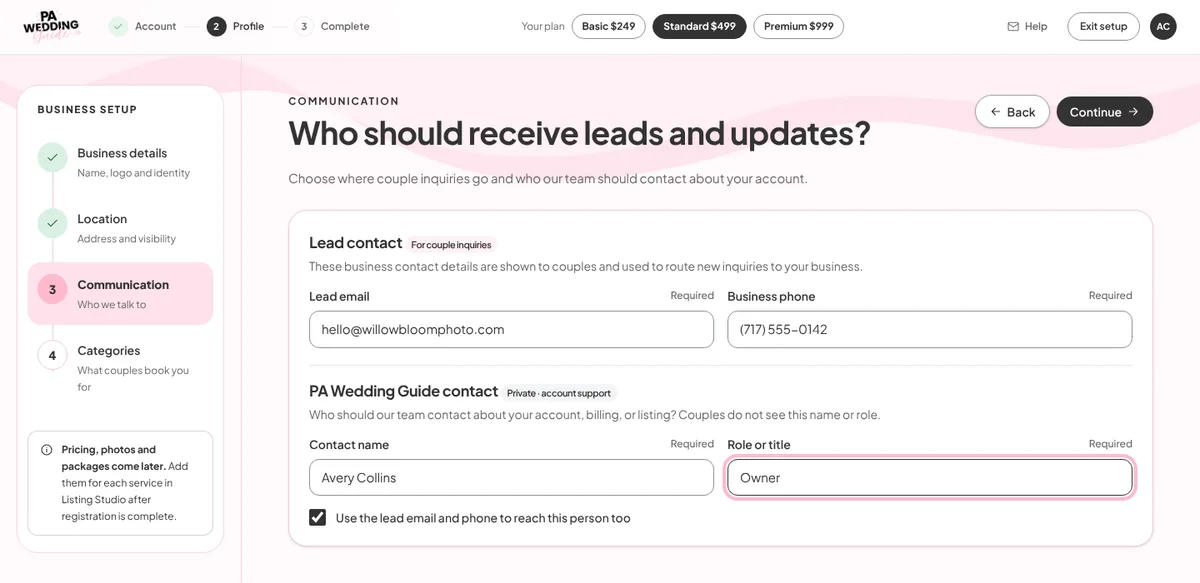
The email and phone couples use to reach you, and the person our team should contact about your account. That second contact stays private.
7Step 7 of 10
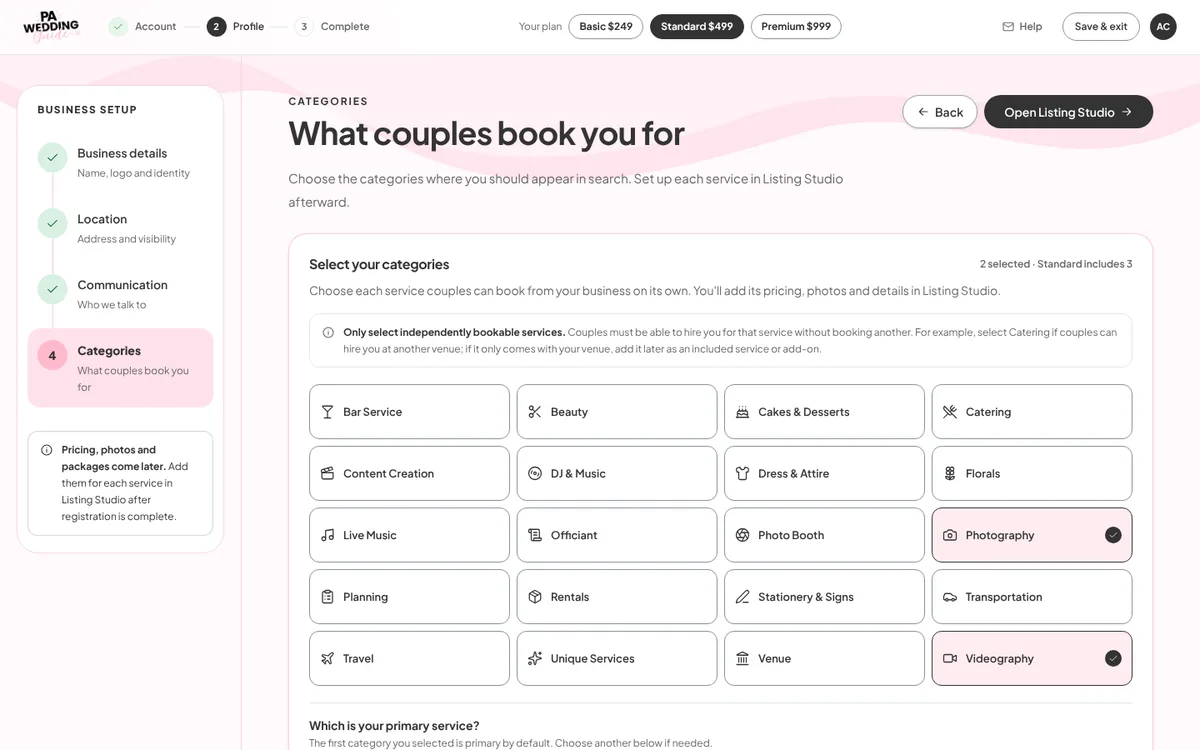
Choose every service couples can book from you on its own, like photography and videography, and which one is your main service. The page shows how many your plan includes. Then open the Listing Studio.
8Step 8 of 10
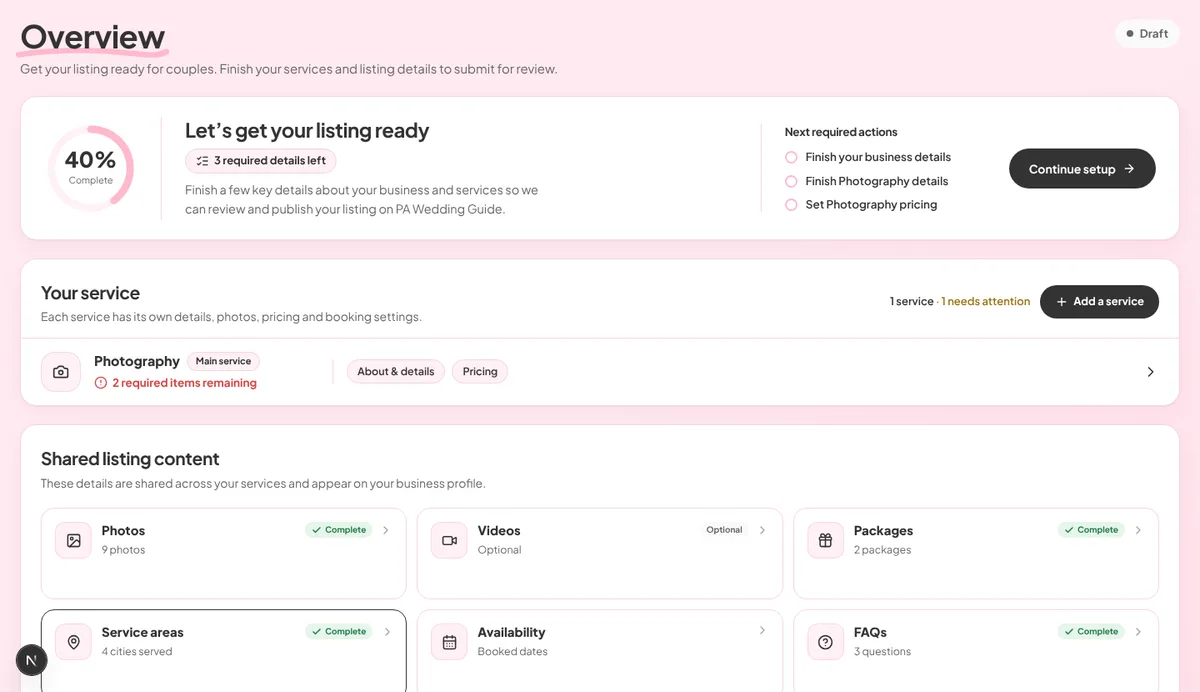
The Overview shows how complete your listing is and the next thing to do. Each service gets its details, pricing and photos, and your photos, packages, service areas and FAQs are shared across all of them. Everything saves as you go.
9Step 9 of 10
Once everything required is done, choose Review and pay. You see your plan and its price before you pay by card, Apple Pay or Google Pay. Paying sends your listing to our team.
10Step 10 of 10
Our team checks every listing before it goes live, so yours is not visible to couples yet. If anything needs a change, we tell you exactly what. We email you the moment it is live.
Sent for approval
PreviewOmni Bedford Springs Resort & Spa
Bedford, PA
Almost there. You are in the queue.
Not visible to couples yet. We will email you when it is live.
Ready when you are
Pick a plan to start. You build your listing before you pay anything.
Questions first? Contact us